在 Vue 3 中使用 Axios 发送 POST 请求需要首先安装 Axios,然后在 Vue 组件或 Vuex 中使用它。以下是一个简单的安装和使用案例:
(图片来源网络,侵删)
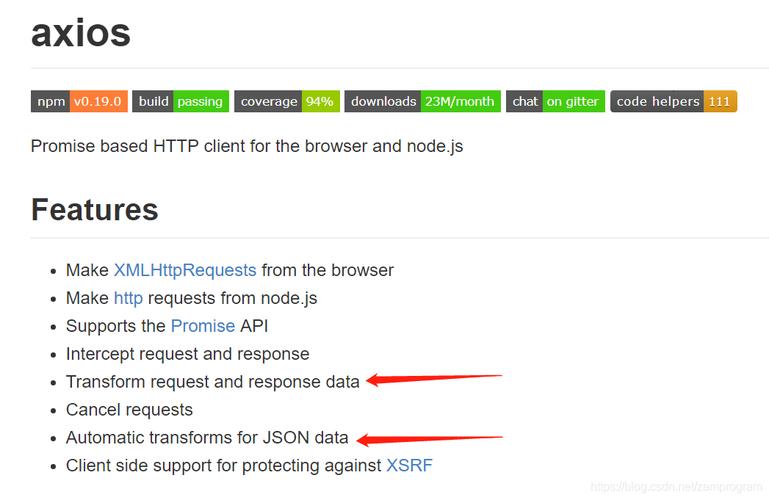
安装 Axios
你可以使用 npm 或 yarn 来安装 Axios:
	npm install axios
	# 或者
	yarn add axios
使用 Axios 发送 POST 请求
- 在 Vue 组件中使用 Axios
首先,在你的 Vue 组件中导入 Axios:
(图片来源网络,侵删)
	    发送 POST 请求


	import axios from 'axios';

	export default {
	  methods: {
	    async sendPostRequest() {
	      try {
	        const response = await axios.post('https://example.com/api/endpoint', {
	          key1: 'value1',
	          key2: 'value2'
	        });
	        console.log(response.data);
	      } catch (error) {
	        console.error('Error sending POST request:', error);
	      }
	    }
	  }
	};
在上面的例子中,当点击按钮时,sendPostRequest 方法会被调用,它会向指定的 URL 发送一个 POST 请求,并携带一些数据。如果请求成功,它会打印响应数据;如果请求失败,它会打印错误信息。
- 在 Vuex 中使用 Axios
如果你更倾向于在 Vuex 中处理 API 请求,你可以这样做:
首先,在你的 Vuex store 中导入 Axios:
	import axios from 'axios';

	export default new Vuex.Store({
	  actions: {
	    async fetchData({ commit }) {
	      try {
	        const response = await axios.post('https://example.com/api/endpoint', {
	          key1: 'value1',
	          key2: 'value2'
	        });
	        commit('setData', response.data);
	      } catch (error) {
	        console.error('Error fetching data:', error);
	      }
	    }
	  },
	  mutations: {
	    setData(state, data) {
	      state.data = data;
	    }
	  },
	  state: {
	    data: null
	  }
	});
然后,在你的 Vue 组件中调用这个 action:
	    获取数据


	export default {
	  methods: {
	    fetchData() {
	      this.$store.dispatch('fetchData');
	    }
	  },
	  computed: {
	    data() {
	      return this.$store.state.data;
	    }
	  }
	};
在这个例子中,当点击按钮时,fetchData 方法会被调用,它会触发 Vuex 中的 fetchData action。这个 action 会发送 POST 请求并更新 Vuex store 中的数据。然后,你可以通过计算属性来访问这些数据。
创建一个 Axios 实例并配置一些基础选项
	const instance = axios.create({
	  baseURL: 'https://some-domain.com/api/',
	  timeout: 1000,
	  headers: {'X-Custom-Header': 'foobar'}
	});

	const onSubmit = async () => {
	  try {
	    const response = await instance.post('/customer_info', {
	      inputValue // 注意判断inputValue是否已经是对象,如果是删除{}
	    });
	    console.log(response.data);
	  } catch (error) {
	    if (error.response) {
	      // 请求已发出,服务器也返回了状态码,但状态码不在 2xx 范围内
	      console.error('Error sending POST request:', error.response.data);
	      // 可以根据 error.response.data 中的错误信息向用户展示具体的提示
	    } else if (error.request) {
	      // 请求已发出,但没有收到任何回应
	      console.error('The request was made but no response was received:', error.request);
	    } else {
	      // 在设置请求时触发了一个错误
	      console.error('Error setting up the request:', error.message);
	    }
	  }
	};
请注意以下几点: