————
下载sadtalker工程文件,包括8=4+4个模型
。。。。。。。。。。。。。。。。
配置环境:
pip源,设置:
pip config set global.index-url https://pypi.tuna.tsinghua.edu.cn/simple
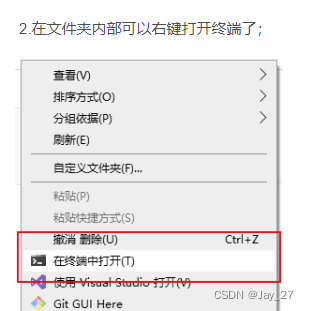
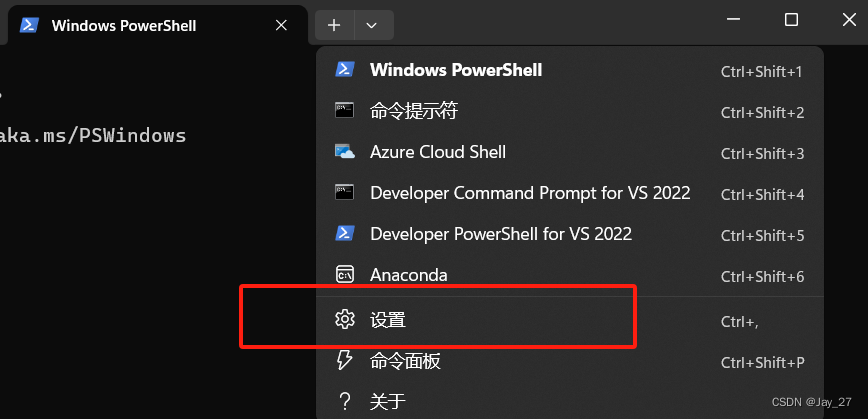
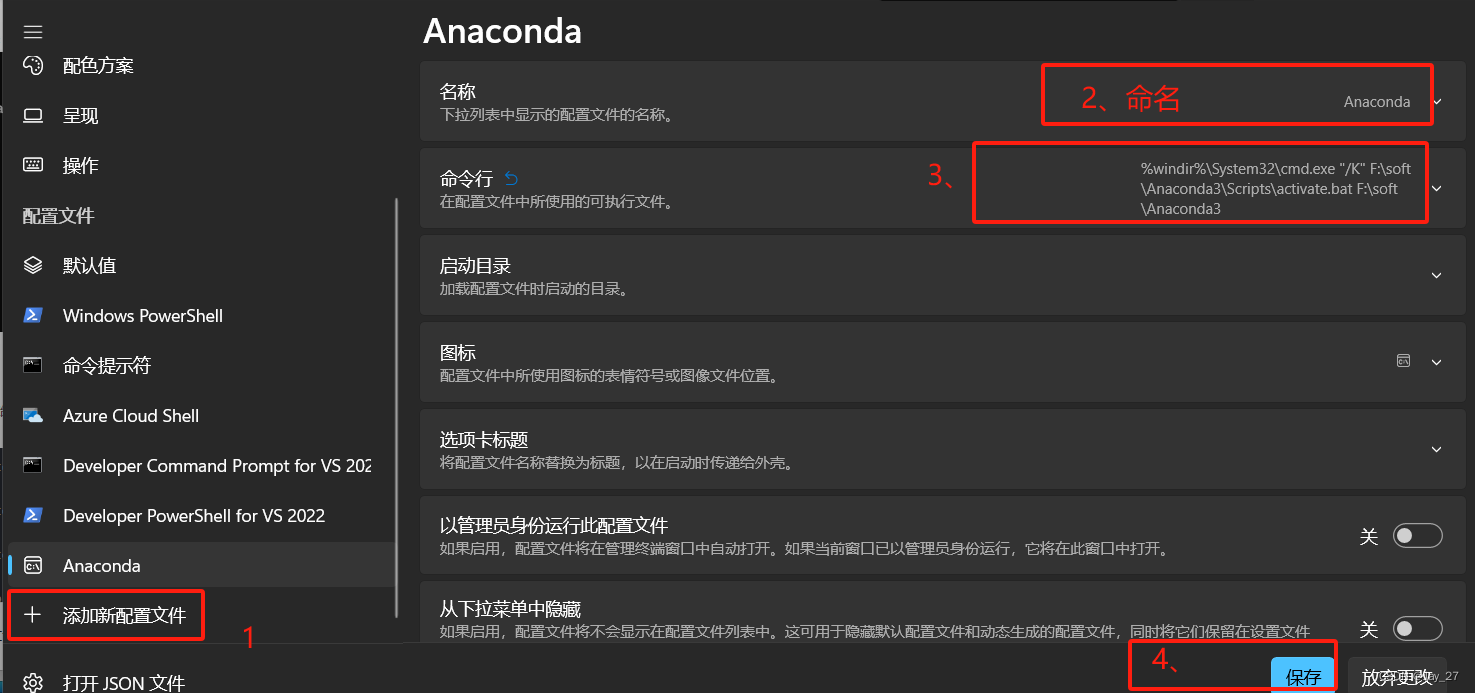
anaconda prompt, 进入命令行
-
how在 Windows 11的终端打开Anaconda-Prompt

开始安装执行SadTalker安装命令:
cd SadTalker
conda create -n sadtalker python=3.8
conda activate sadtalker
pip3 install torch torchvision torchaudio --index-url https://download.pytorch.org/whl/cu118
conda install ffmpeg
pip install -r requirements.txt
运行项目(生成视频)
python inference.py --driven_audio E:\work\sadTalker\SadTalker\examples\driven_audio\chinese_news.wav --source_image E:\work\sadTalker\SadTalker\examples\source_image\art_2.png --result_dir E:\work\sadTalker\SadTalker\examples\ref_video --still --preprocess full --enhancer gfpgan
python inference.py
--driven_audio E:\work\sadTalker\SadTalker\examples\driven_audio\chinese_news.wav
--source_image E:\work\sadTalker\SadTalker\examples\source_image\art_2.png
--result_dir E:\work\sadTalker\SadTalker\examples\ref_video
--still
--preprocess full
--enhancer gfpgan
1、音频位置
2、图片位置
3、生成结果(视频)位置
4...各种效果
有问题,可能是没有配置正确。
把【项目包】里面的:gfpgan\weights\GFPGANv1.4.pth
剪切到
【虚拟环境】的 Lib\site-packages\gfpgan\weights 目录下
【运行】自己放了一张照片(报错)
报错:(sadtalker) E:\work\sadTalker\SadTalker>python inference.py --driven_audio E:\work\sadTalker\SadTalker\examples\driven_audio\chinese_news.wav --source_image E:\work\sadTalker\SadTalker\examples\source_image\133.png --result_dir E:\work\sadT
alker\SadTalker\examples\ref_video --still --preprocess full --enhancer gfpgan
using safetensor as default
3DMM Extraction for source image
Traceback (most recent call last):
File "inference.py", line 144, in
main(args)
File "inference.py", line 46, in main
first_coeff_path, crop_pic_path, crop_info = preprocess_model.generate(pic_path, first_frame_dir, args.preprocess,\
File "E:\work\sadTalker\SadTalker\src\utils\preprocess.py", line 103, in generate
x_full_frames, crop, quad = self.propress.crop(x_full_frames, still=True if 'ext' in crop_or_resize.lower() else False, xsize=512)
File "E:\work\sadTalker\SadTalker\src\utils\croper.py", line 131, in crop
raise 'can not detect the landmark from source image'
TypeError: exceptions must derive from BaseException
似乎是在处理图像预处理时出现了问题,导致无法从源图像中检测到地标(landmark)
针对这个问题,建议你检查以下几点:
- 源图像路径是否正确,确保路径中没有拼写错误或者路径不存在。
- 源图像是否符合预期的格式和要求,例如是否包含必要的地标信息。🚩
- 检查预处理过程中的参数设置,确保参数设置正确并且与预期一致。
根据错误信息,似乎是在croper.py文件的第131行引发了异常。
不知道怎么解决,就直接用给的图片了
#######################################
-
parser.add_argument("--still", action="store_true", help="can crop back to the original videos for the full body animation")
- --still: 这部分指定了参数的名称,即在命令行中使用 --still 来指定这个参数。
- action="store_true": 这部分指定了当命令行中出现 --still 参数时,将其设为 True。这意味着不需要为 --still 参数提供额外的值,只需在命令行中出现即可将其设为 True。
- help="can crop back to the original videos for the full body animation": 这部分提供了关于参数的简短描述,即当用户在命令行中使用 --help 时会显示的帮助信息。在这种情况下,它说明了 --still 参数的作用,即可以用于将视频裁剪回原始视频以进行全身动画。
因此,通过这段代码,当用户在命令行中使用 --still 参数时,脚本将会将其设为 True,并且提供了关于参数作用的简要说明。
fastapi运行,点击网址,加载不出
需要保存代码后,点击网址。
[Bug]: ModuleNotFoundError: No module named 'torchvision.transforms.functional_tensor' torchvision 0.17 promblem
Open ./venv/lib/python3.10/site-packages/basicsr/data/degradations.py and on line 8, simply change:
from torchvision.transforms.functional_tensor import rgb_to_grayscale
to:
from torchvision.transforms.functional import rgb_to_grayscale
api问题
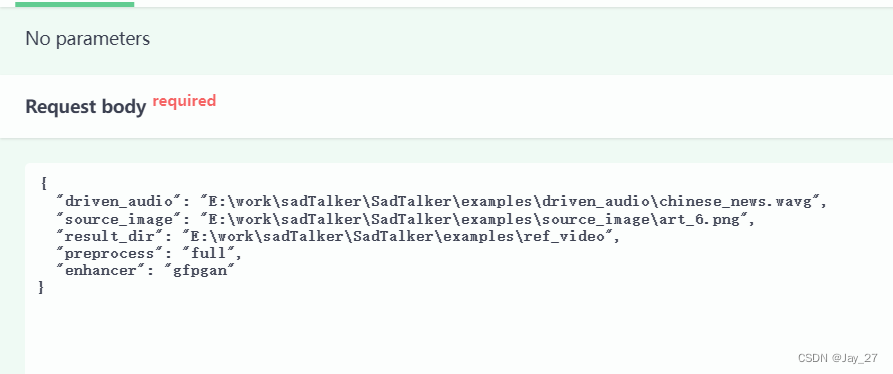
{
  "driven_audio": "E:\work\sadTalker\SadTalker\examples\driven_audio\chinese_news.wav",
  "source_image": "E:\work\sadTalker\SadTalker\examples\source_image\art_6.png",
  "result_dir": "E:\work\sadTalker\SadTalker\examples\ref_video",
  "preprocess": "full",
  "enhancer": "gfpgan"
}